
Hydrostatic testing is one of the final field checks before an industrial storage tank is accepted for service. It is often described as a leak test, but for EPC teams it is also a practical verification of foundation behavior, shell stability, nozzle tightness, appurtenance installation, drainage readiness, safety controls, and handover discipline.
A good hydrotest does not begin when water enters the tank. It begins when the project team confirms that the tank is mechanically complete, the test water source is suitable, temporary piping is controlled, vents are open, settlement points are prepared, and all parties understand the filling, holding, inspection, draining, and documentation sequence.
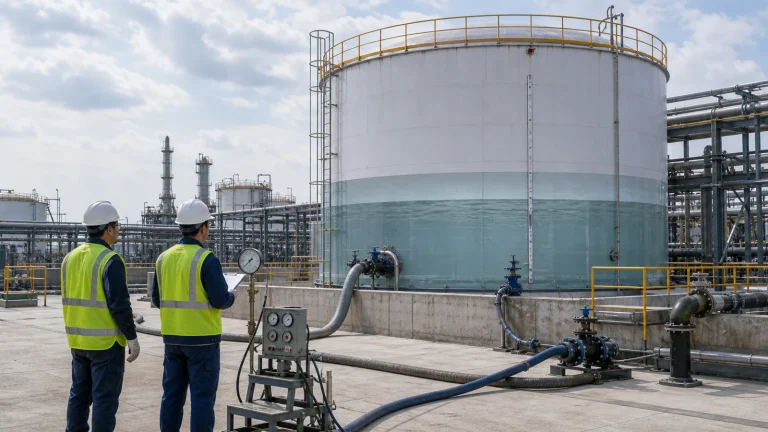
Why Hydrostatic Testing Matters Beyond Leak Detection
For welded steel tanks, bolted tanks, glass-fused-to-steel tanks, and many field-assembled storage systems, hydrostatic testing helps prove that the tank can hold liquid under controlled conditions. It can reveal weld defects, flange leakage, gasket problems, poor nozzle fit-up, uneven settlement, weak drain arrangements, or incomplete accessory installation before the tank is placed into operating service.
The test also forces different disciplines to work together. Civil teams observe foundation response, mechanical teams check shell and nozzle integrity, piping teams confirm temporary and permanent connections, instrument teams verify level indication, safety teams control access, and operations teams begin to understand how the tank will be filled, drained, isolated, and maintained.
1. Confirm Mechanical Completion Before Filling
Before test water is introduced, the tank should be inspected against the latest approved drawings and inspection records. This usually includes checking shell plates or panels, bottom plates, roof details, manways, nozzles, flange faces, gaskets, bolts, drains, vents, ladders, platforms, anchor bolts, grounding points, and internal accessories.
Temporary blinds, test covers, blank flanges, and isolation points should be clearly identified. Open nozzles can become uncontrolled discharge points. Closed vents can create dangerous pressure or vacuum conditions. Incomplete platforms or loose tools can turn a normal test into a safety issue.
2. Review Test Water Quality and Disposal Route
Test water is not just a volume calculation. The project should confirm where the water comes from, whether it is compatible with the tank lining or stored-product requirements, whether corrosion inhibitors are needed, how long the water will remain in the tank, and how it will be discharged after the test.
For stainless steel, coated steel, lined tanks, potable-water tanks, wastewater tanks, and chemical service tanks, water quality can affect corrosion, staining, lining performance, microbial growth, or later cleaning requirements. If the project uses natural water, recycled water, seawater, or treated wastewater for testing, compatibility should be reviewed before filling begins.
The disposal plan should be approved before the test. Draining a large tank can overload temporary channels, erode soil, flood a containment area, or violate site discharge rules if it is treated casually. The test-water route should be consistent with the project drainage and secondary containment strategy.
3. Control the Filling Sequence
Filling should be staged and monitored. The exact hold points depend on tank type, project specification, foundation condition, and inspection plan, but the principle is the same: raise the water level in controlled increments, pause where required, inspect, record readings, and continue only when the previous stage is acceptable.
Rapid filling can hide leaks, create uneven loading, stress temporary piping, or make settlement trends harder to interpret. For large tanks, the filling rate should be coordinated with water supply capacity, venting area, survey team availability, night work restrictions, and emergency drain capability.
4. Monitor Foundation Settlement During the Test
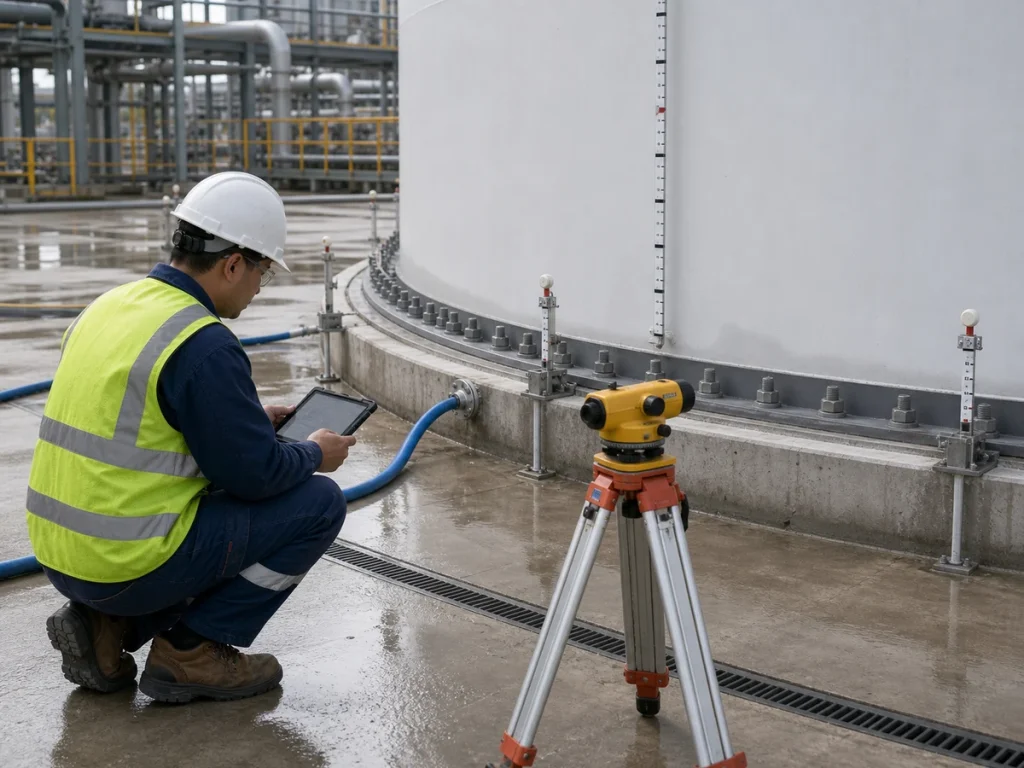
Hydrostatic testing places a real load on the foundation. Settlement monitoring is therefore one of the most important parts of the test, especially for large-diameter tanks, ring foundations, sites with soft soil, reclaimed land, high groundwater, or tanks built on compacted fill.
Settlement points should be established before filling. Readings should be taken at defined water levels and after required holding periods. The team should look for both total settlement and differential settlement, because uneven movement can affect the tank shell, bottom, nozzles, roof structure, and connected piping.
This is why hydrotest planning should be connected to earlier above-ground storage tank foundation design. A foundation design may look acceptable on paper, but the hydrotest is often the first moment when the foundation experiences near-operating liquid load.
5. Keep Vents and Overflows Functioning
During filling and draining, the tank must breathe. Vents, overflow routes, emergency vents, pressure-vacuum devices, and temporary openings should be reviewed for the test condition, not only for normal operating conditions. A blocked or undersized vent can create overpressure during filling or vacuum during draining.
Overflow routing also matters. If the tank is accidentally overfilled during testing, the overflow should lead to a controlled area rather than onto electrical equipment, access routes, unfinished foundations, or uncontrolled soil. Operators should understand the difference between test filling level, design liquid level, overflow level, and any temporary construction limit.
6. Inspect Welds, Seams, Flanges, Nozzles, and Penetrations
Leak inspection should be systematic. The team should check shell welds or bolted seams, bottom-to-shell area, nozzles, manway covers, drain connections, reinforcement pads, flange gaskets, roof penetrations, and any appurtenance that sees test water pressure. Inspection should be possible without unsafe climbing, poor lighting, or blocked access.
Small weeps should not be dismissed without evaluation. A leak that appears minor during clean-water testing can become a larger operating problem when the stored liquid is corrosive, odorous, viscous, hazardous, hot, or difficult to clean. Findings should be photographed, marked, repaired, retested where required, and entered into the handover record.
7. Coordinate Temporary Piping With Permanent Interfaces
Temporary fill and drain lines should not damage permanent nozzles, coating, insulation, supports, or platforms. Hose weight, vibration, misalignment, and poor support can create unintended loads at tank connections. Temporary lines should be restrained and routed so they do not create trip hazards or block inspection access.
Permanent nozzles, valves, supports, and instruments should also be reviewed before commissioning. The hydrotest is a good time to confirm whether earlier tank nozzle, pipe support, and access design decisions have produced a maintainable field arrangement.
8. Verify Instruments and Operating Devices
Level instruments should be checked against actual water level during filling where practical. High-level alarms, local gauges, transmitters, sight glasses, overflow indicators, pressure devices, and temperature points should be inspected for correct installation and accessibility. If the tank has mixers, recirculation nozzles, spray systems, sampling points, or dosing connections, these should be checked against the commissioning plan.
Instrument verification is not only a controls task. Operations should confirm whether the reading is visible, whether calibration access is safe, whether isolation valves are reachable, and whether the device can be removed or serviced without unnecessary dismantling.
9. Drain the Tank Without Creating New Damage
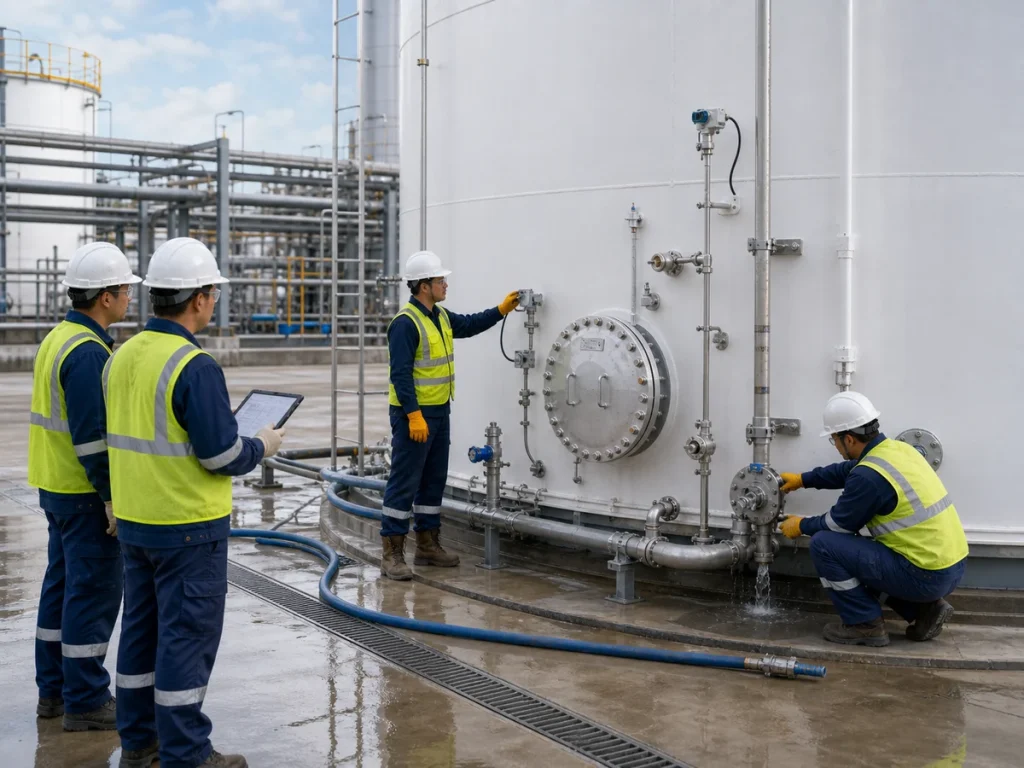
Draining deserves the same planning as filling. The tank should be drained at a controlled rate, with vents open and discharge routed as approved. The team should watch for vacuum risk, unstable hoses, erosion, flooding, sump overload, and uncontrolled discharge. If the tank has an internal lining or coating, the drying and cleaning sequence should follow the coating or process requirements.
After draining, the tank should be inspected for remaining water, sediment, coating damage, debris, gasket movement, corrosion staining, blocked drains, and any sign that the test created a new problem. For tanks entering chemical or hygienic service, post-test cleaning and drying may be as important as the test itself.
10. Prepare a Clear Handover Record
The handover package should show what was tested, how the test was conducted, who witnessed it, what water level was reached, how long it was held, what readings were taken, what leaks or defects were found, what repairs were completed, and what retesting was performed. Settlement readings, photos, inspection sheets, calibration notes, and drain/disposal records should be traceable.
Without a clear record, the project may pass the test physically but fail the documentation requirement for owner acceptance, regulatory review, insurance review, or later maintenance reference. Good commissioning records also help operations teams understand the actual condition of the tank at startup.
Hydrostatic Testing Checklist for EPC Teams
- Confirm mechanical completion and approved test boundaries before filling.
- Review test water source, compatibility, temperature, treatment, and holding time.
- Approve the filling sequence, filling rate, hold points, inspection plan, and emergency stop criteria.
- Set settlement monitoring points and record readings before, during, and after the test.
- Keep vents, overflows, and temporary openings suitable for filling and draining conditions.
- Inspect welds, seams, nozzles, flanges, gaskets, drains, manways, and penetrations systematically.
- Support temporary piping and hoses so they do not overload tank nozzles or block safe access.
- Verify level instruments, alarms, valves, drains, vents, sampling points, and operating access.
- Drain and clean the tank using an approved route and a controlled sequence.
- Compile test records, settlement data, photos, repairs, retest evidence, and commissioning notes.
Common Mistakes to Avoid
One common mistake is treating hydrostatic testing as a contractor-only activity. In reality, the owner, EPC contractor, tank supplier, civil team, safety team, and operations team all have information that can affect the test. Another mistake is allowing the test to start without a confirmed drain route, which can create site flooding or environmental problems after the tank has already been filled.
Teams also underestimate temporary works. A temporary hose, unsupported pipe, blocked vent, unmarked blind flange, or missing access platform can create real risk even when the permanent tank design is correct. Good field control turns the hydrotest into a useful commissioning step rather than a last-minute obstacle.
Conclusion
Hydrostatic testing and commissioning are practical proof points for industrial storage tank projects. They verify more than leakage. They confirm that the foundation behaves under load, that vents and drains function, that nozzles and instruments are accessible, that containment and discharge routes are ready, and that the project can hand over a documented tank system.
The best hydrotest is planned early, witnessed properly, recorded clearly, and connected to the real operating life of the tank. When EPC teams treat it as an integrated commissioning activity, they reduce startup risk and give owners a stronger basis for safe operation.